
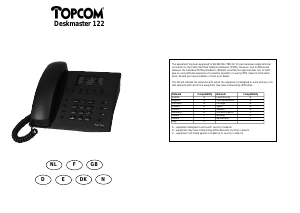
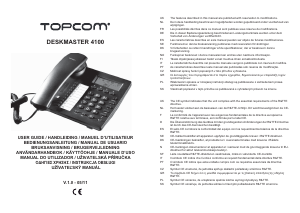
Deskmaster 122
6
Deskmaster 122
5
1 Handsfree button
2 Volume control - (minus)
3 Volume control + (plus)
4 Redial button
5 Flash button
6 Direct Memory Key M1
7 Direct Memory Key M2
8 Memory recall button
9 Delete button
10 Up button
11 Down button
12 Call back button
13 Store button
14 “New call” LED indicator
15 “Speaker Phone” LED indicator
16 Adaptor DC 9V
17 Ringer switch
18 Battery compartment
1 Installation
Open the battery cover under the unit and insert a 9V battery. Connect the line cord to the line
socket and the telephone set. The LCD display is functioning.
When the battery low icon appears on the display, make sure you replace the battery or
the memory numbers and settings will get lost.
2 Set the area Code
The area code will be removed from the incoming number . This way the Call Back button will
operate in countries where you are not allowed to dial your own area code for a number inside
the area.
• Press and hold the UP button .
• The display will show ‘AREA CODE’.
• Enter your area code on the keypath (to delete press the Delete button)
• After entering your complete area code press the Call Back button to confirm, you will enter
the date/time setting.
3 Date and time settings
• Enter the month, day, hour and minutes on the keypath.
• When the clock settings are completed, press Call Back button to fix the correct time. You will
now enter the Plus area code settings.
4 Plus area code
The plus area code digits will be added to the incoming number and can be used to add pabx
prefix or operator prefix.
• Enter the Plus Area code on the keypath and confirm with the Call Back button.
5 Memory numbers
a) One touch memory (M1,M2)
• Press the Store button
• Enter the telephone number
• Press M1 or M2.
• Pick up the handset and replace it.
b) Two touch memory (0..9)
• Press the Store button
• Enter the telephone number
• Press the memory recall button
• Press a numeric key (0..9).
• Pick up the handset and replace it.
6 Memory dial
a) One touch memory (M1,M2)
• Pick up the handset or press the Handsfree button. Listen for a dial tone and press M1 or M2.
b) Two touch memory (0..9)
• Pick up the handset or press the Handsfree button. Listen for the dial tone.
• Press the memory recall button, followed by one of the numeric keys (0..9).
7 Caller ID list
The Caller ID list maintains the data of the last 60 incoming calls. If the list contains already 60
numbers and a new call comes in, the oldest call will be erased automatically and the new call
will be stored.
a) To erase one stored number
• Press UP or DOWN to select the number you want to erase
• Press the Delete button twice, the displayed number will be erased.
b) To erase the entire list
• Press and hold the Delete button for more than 3 seconds, the entire list is erased.
8 Caller ID dial
• Press UP or DOWN to select the number you wish to dial.
• Pick up the handset or press the Handsfree button.
• Press the Call Back button; the displayed number will be dialled out.
9 Visual message waiting service (voice mail)
This feature will be used to indicate there is a message on your anwsering machine in the net
work and can only be used if supported by your telephone company.
The icon appears on the display which means that a message is waiting to be retrieved.
Please contact your telephone company to find out how to retrieve this message.
GB



Bli med i samtalen om dette produktet
Her kan du dele hva du synes om Topcom Deskmaster 122 Telefon. Hvis du har et spørsmål, les først bruksanvisningen nøye. Be om en bruksanvisning kan gjøres ved å bruke vårt kontaktskjema.